HTTP Requests in TypeScript Serverless Functions

One of the most requested features for TypeScript serverless functions has always been the ability to make HTTP requests to external APIs.
That's now supported 🚀.
HTTP Requests
Rust serverless functions have been able to reach out to the outside world via HTTPS for a while. That comes naturally since Rust functions leverage the ic_cdk, which is maintained by the DFINITY foundation for the Internet Computer and therefore, supports it out of the box.
On the other hand, TypeScript serverless functions are unique to Juno, so features are added incrementally.
Performing those kind of requests happens through a feature called HTTPS outcalls. Using it, you can extend your Satellite to fetch data, trigger webhooks, call third-party services, whatever your use case requires. In Juno's own codebase, it is used to send emails and fetch the public keys of the OpenID providers supported for authentication.
Making a Request
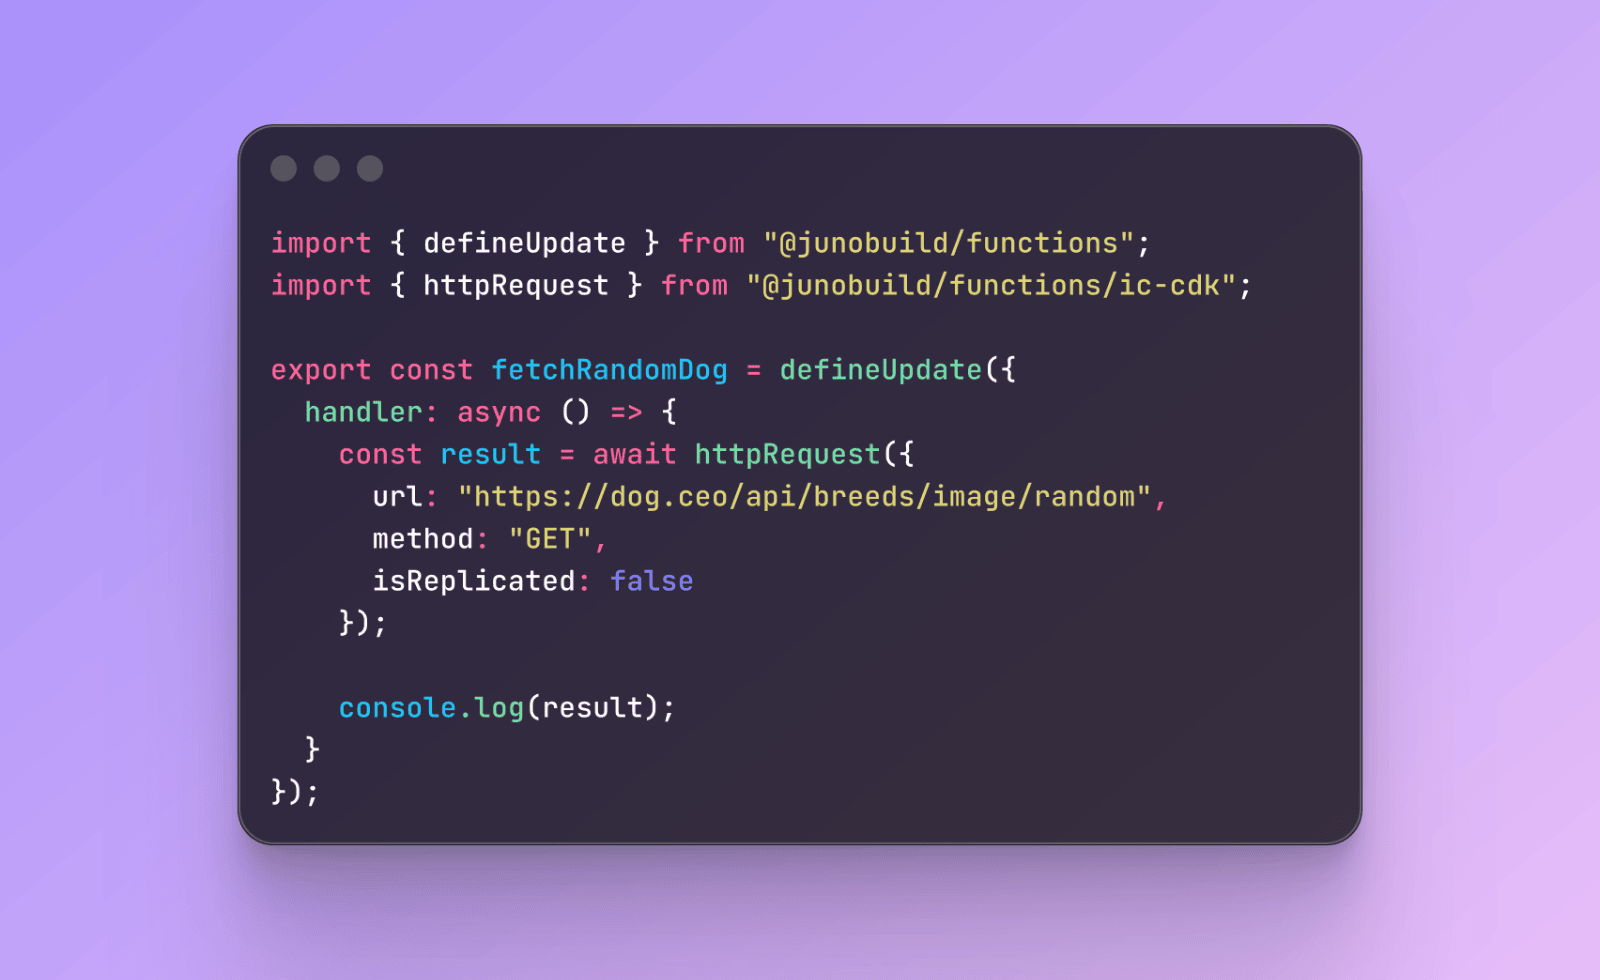
Here's a simple example using the Dog CEO API to fetch a random dog image URL and return it directly from an update function:
import { defineUpdate } from "@junobuild/functions";
import { httpRequest, type HttpRequestArgs } from "@junobuild/functions/ic-cdk";
import { j } from "@junobuild/schema";

const DogSchema = j.strictObject({
  message: j.url(),
  status: j.string()
});

export const fetchRandomDog = defineUpdate({
  result: DogSchema,
  handler: async () => {
    const args: HttpRequestArgs = {
      url: "https://dog.ceo/api/breeds/image/random",
      method: "GET",
      isReplicated: false
    };

    const result = await httpRequest(args);

    const decoder = new TextDecoder();
    const body = decoder.decode(result.body);

    return JSON.parse(body);
  }
});
Define the function, call the API, use the result. That's it.

Transformer
Some APIs return response headers that vary between nodes, timestamps, request IDs, and so on. In replicated mode, where the request is run multiple times and reconciled to ensure its validity, this can cause the call to fail if all responses do not match.
To handle this, you can define a transform function that sanitizes the response before the nodes compare it. A common pattern is to strip the headers entirely:
import { defineQuery, defineUpdate } from "@junobuild/functions";
import {
  httpRequest,
  HttpRequestResultSchema,
  TransformArgsSchema,
  type HttpRequestArgs
} from "@junobuild/functions/ic-cdk";
import { j } from "@junobuild/schema";

const DogSchema = j.strictObject({
  message: j.url(),
  status: j.string()
});

export const fetchRandomDog = defineUpdate({
  result: DogSchema,
  handler: async () => {
    const args: HttpRequestArgs = {
      url: "https://dog.ceo/api/breeds/image/random",
      method: "GET",
      isReplicated: true,
      transform: "trimHeaders"
    };

    const result = await httpRequest(args);

    const decoder = new TextDecoder();
    const body = decoder.decode(result.body);

    return JSON.parse(body);
  }
});

export const trimHeaders = defineQuery({
  hidden: true,
  args: TransformArgsSchema,
  result: HttpRequestResultSchema,
  handler: ({ response: { status, body } }) => ({
    status,
    body,
    headers: []
  })
});
The transform field references the name of an exported query function. Marking it hidden: true keeps it out of the auto-generated client API, it's an implementation detail, not something you'd call from the frontend.
Guards
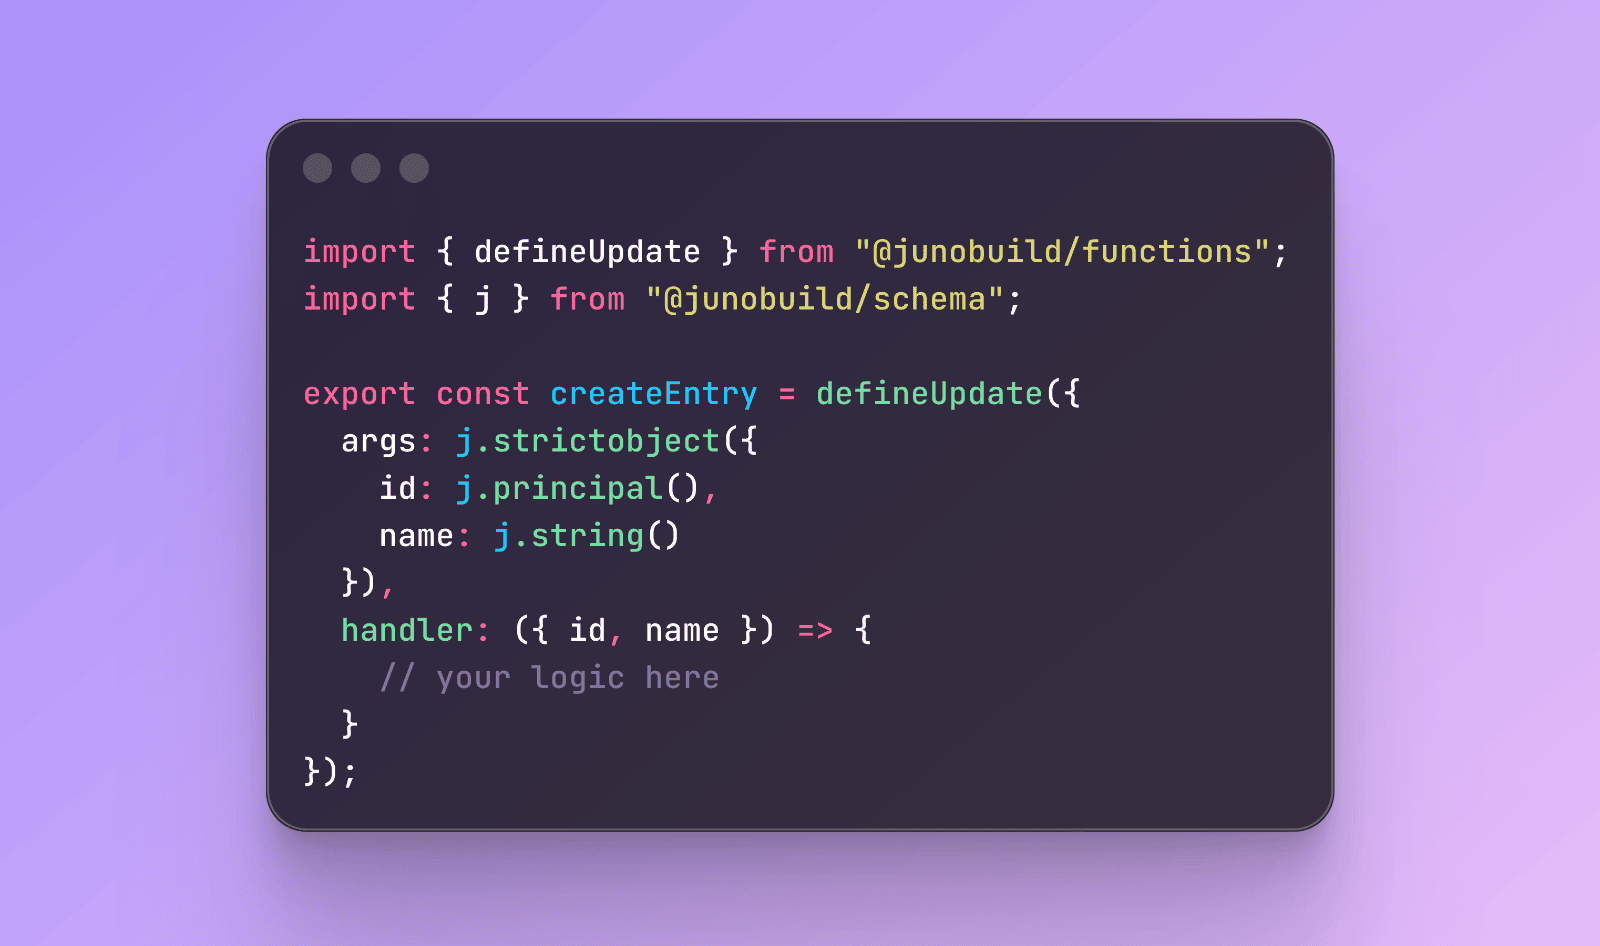
This release also ships support for guards that let you protect your functions with access control logic, restricting who can call them before the handler even runs.
import { defineQuery } from "@junobuild/functions";
import { callerIsAdmin } from "@junobuild/functions/sdk";

export const ping = defineQuery({
  guard: () => {
    throw new Error("No pong today");
  },
  handler: () => {
    console.log("Hello");
  }
});

export const hello = defineQuery({
  guard: callerIsAdmin,
  handler: () => {
    console.log("Hello, admin!");
  }
});
References
Following sections of the documentation have been updated:
HTTP requests were a feature often requested and led a few developers to choose Rust for that reason. Really happy to finally ship this one and hopefully see more devs embrace the simplicity of using TypeScript.
To infinity and beyond
David